cvm_writer_h5#
In this tutorial, we will use the cvm_writer_h5 tool to convert the Cascadia_ANT+RF_Delph2018 raw data into a CVM model file in HDF5 format. To create CVMs in HDF5 format, we need:
The model data files in CSV format
A global parameter file
Parameter file(s) for the variables
The parameter files are based on the templates from the template directory.
Creating and HDF5 file with single dataset#
When convert the Cascadia_ANT+RF_Delph2018 model data file, the resulting HDF5 file will contain one dataset for the whole model. To do this conversion, we need one data file and one parameter file since only one dataset exists in the model.
The steps we take to convert the model data to HDF5 are similar to those for the cvm_writer to create a netCDF file from the same data file.
Step 2: Prepare the Data File#
You can skip this step if you did it under the cvm_writer tutorial.
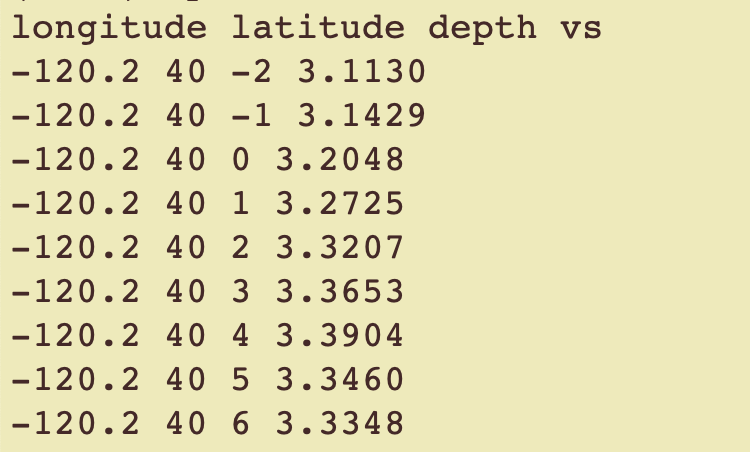
The Cascadia_ANT+RF_Delph2018.txt.gz file is the raw data file for the model. Unzip it and copy it to a file for testing (e.g., Cascadia-ANT+RF_data.txt). This will be our model’s data file. All model data files need to have a header as their first line that identifies the columns in the file using the same delimiter between column names as used for the data. Place the following header as the first line in Cascadia-ANT+RF_data.txt:
longitude latitude depth vs
Step 3: Prepare the Global Metadata File#
Now, we need model metadata files. The metadata files contain the model metadata as text. Templates for the metadata files are available under the template folder. Two metadata files are needed: one global based on template/global_metadata_template.txt and another for variables based on template/variables_metadata_template.txt. When creating HDF5 files, we need one data file and one variables_metadata file per dataset. In this case, Cascadia_ANT+RF_Delph2018 has only one dataset.
For this tutorial, you do not need to copy templates. We already have the necessary metadata file for the global attributes as Cascadia-ANT+RF_global_meta.txt and for variables as Cascadia-ANT+RF_meta.txt placed under this directory.
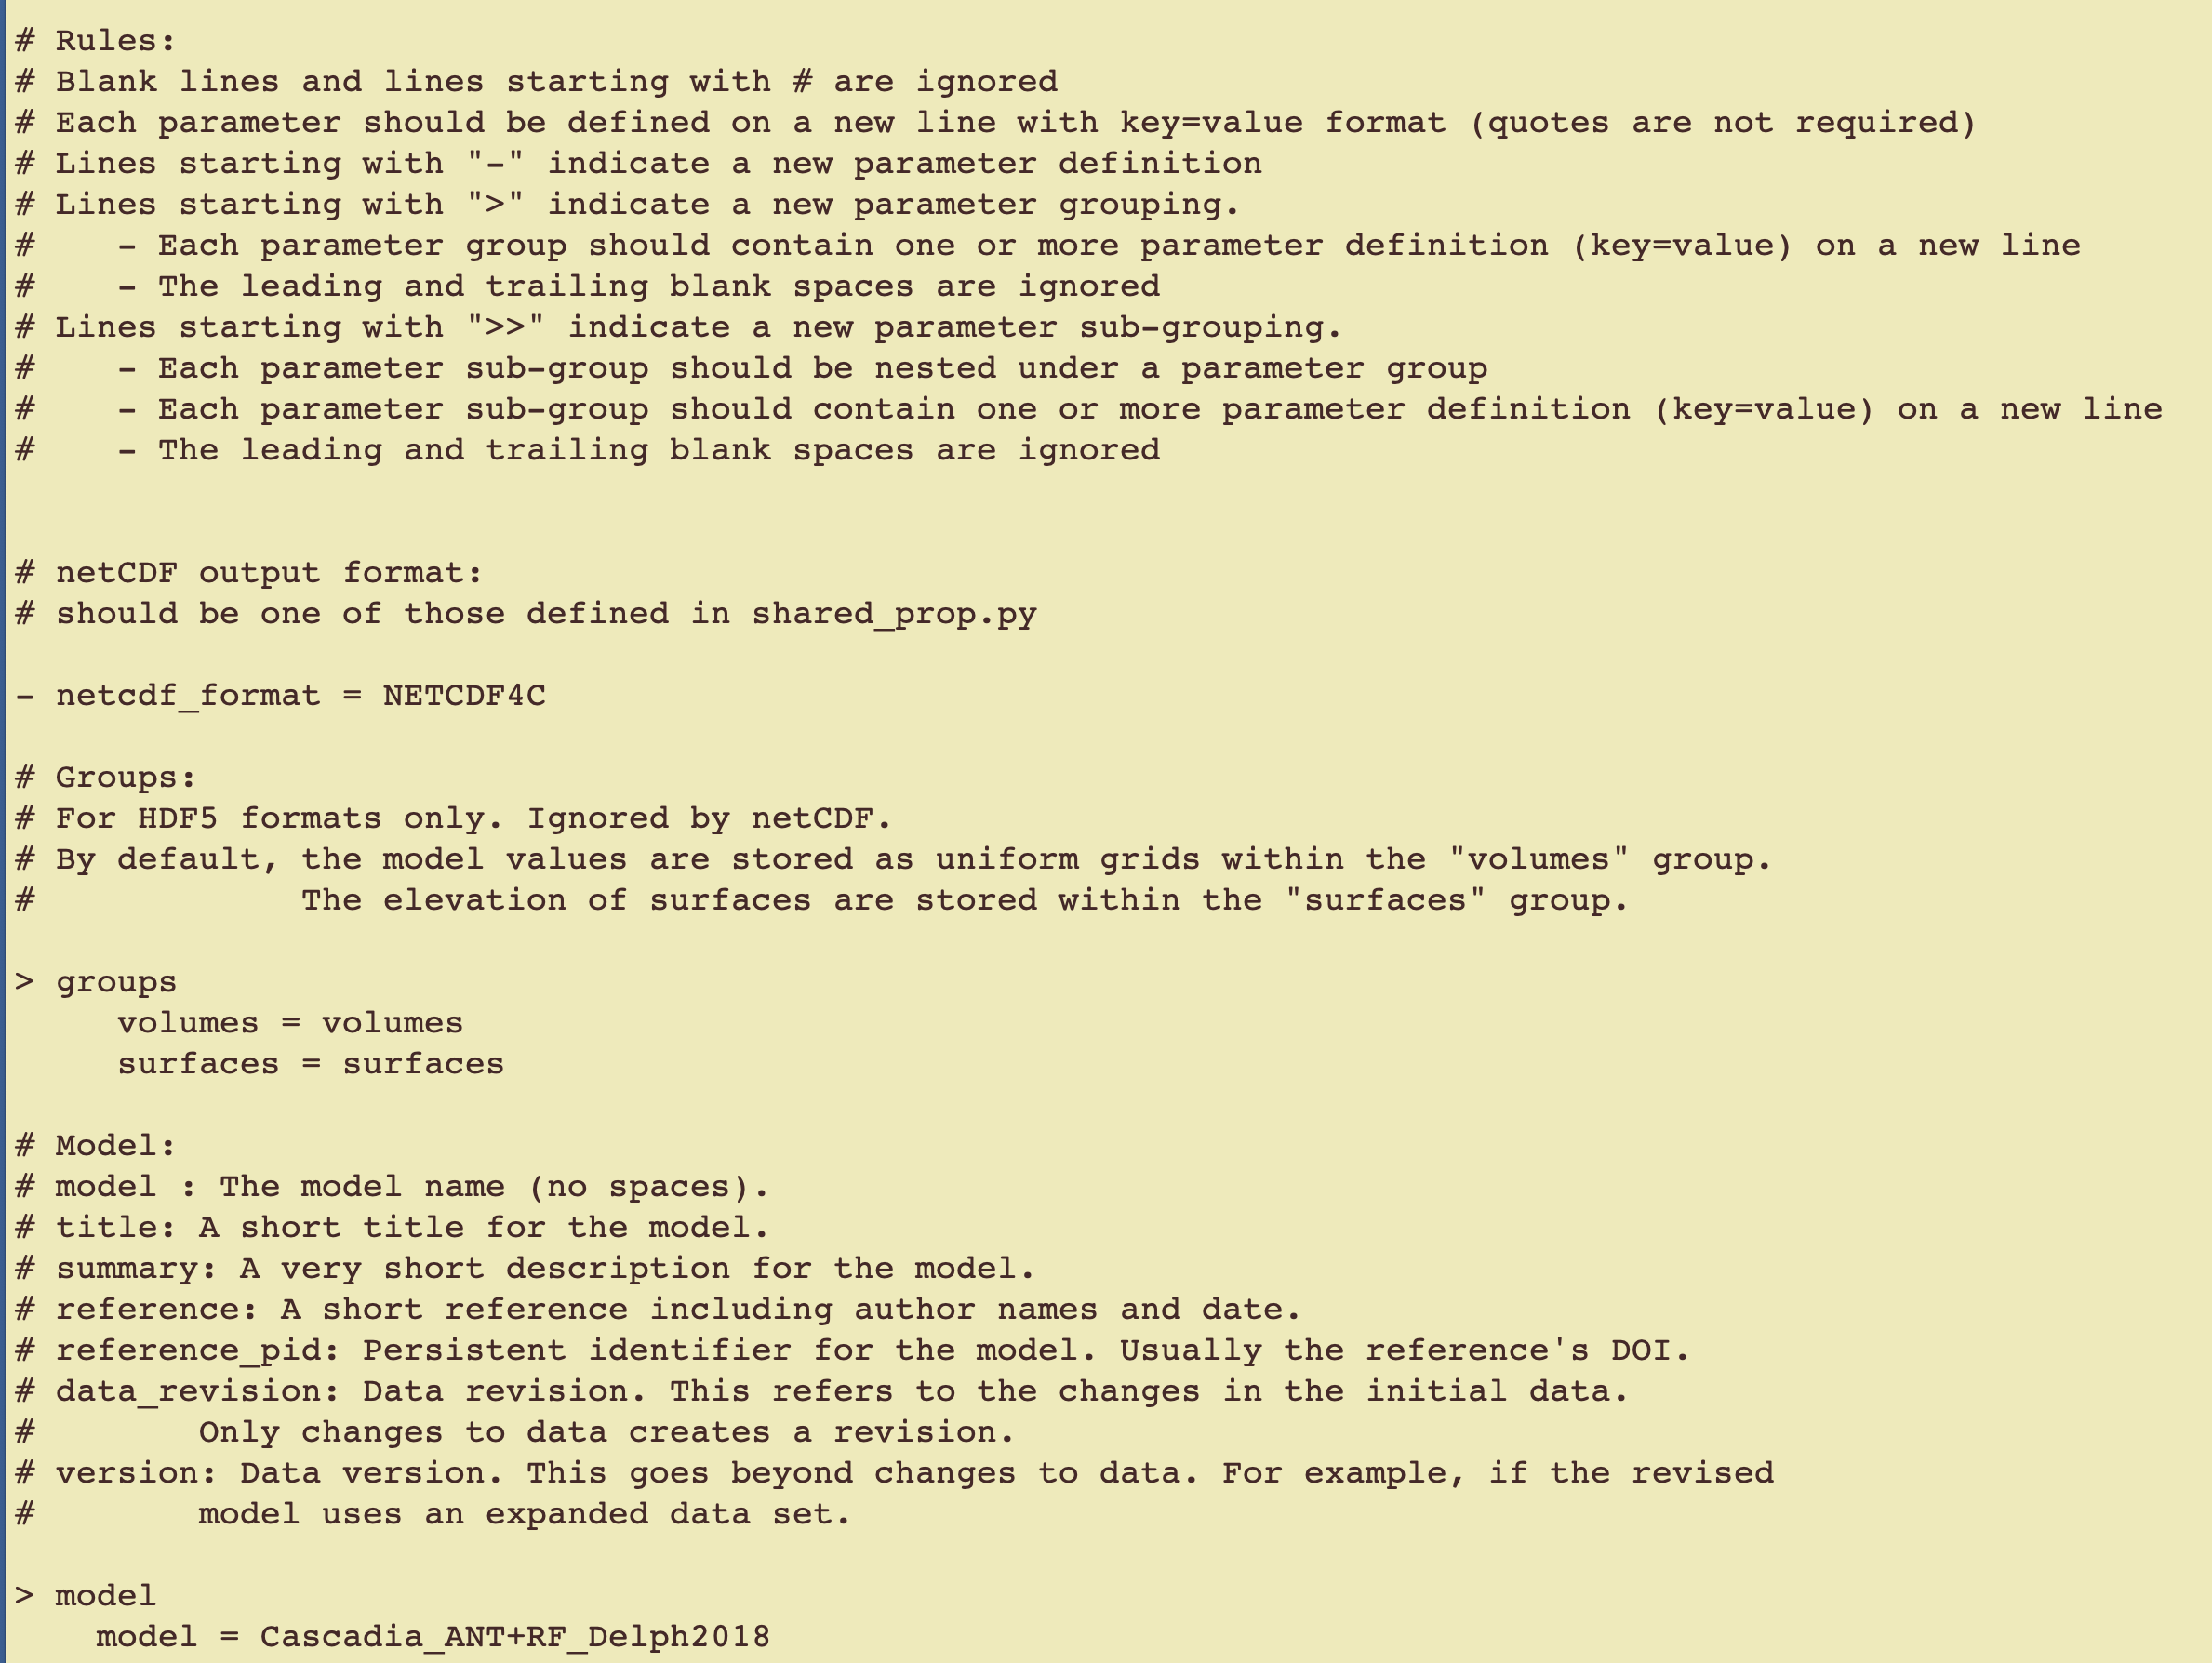
These parameter files are the same as those used by the cvm_writer tool, but pay particular attention to the following HDF5-specific attributes in the parameter files where we define the HDF5 groupings. Under HDF5, the model values (3D data) are stored as dataset within the “volumes” group and other 2D data, such as elevation of surfaces are stored within the “surfaces” group. We use the groups parameter to assign our own group names. For example, we set the main groups as MODEL and SURFACES in the Cascadia-ANT+RF_global_meta.txt parameter file:
> groups
     volumes = MODEL
     surfaces = SURFACES
The volumes group will be used to store 3D data and the surfaces group will be used to store the 2D data. In our case, our data is 3D and the volumes group will be used.
Step 4: Prepare the Variable Metadata File#
Cascadia-ANT+RF_meta.txt variables metadata file has the following definitions to define dataset group in our HDF5:
- dataset_group = VELOCITY
NOTE: Since we only have one dataset in this tutorial, we can leave the dataset_group blank to store 3D data under the root MODEL group.
- dataset_group =
For detailed instructions on how to create these parameter files, see the Parameter File Structure guide.
Step 5: Create the Model HDF5 File#
Now, create the model file by running:
python ../../src/cvm_writer_h5.py -m Cascadia-ANT+RF_meta.txt -g Cascadia-ANT+RF_global_meta.txt -o Cascadia-ANT+RF-test -d Cascadia-ANT+RF_data.txt
-m Cascadia-ANT+RF_meta.txttellscvm_writer_h5that the variables metadata file isCascadia-ANT+RF_meta.txt.-g Cascadia-ANT+RF_global_meta.txttellscvm_writer_h5that the global metadata file isCascadia-ANT+RF_global_meta.txt.-o Cascadia-ANT+RF-testis the name of the output file (no file extension should be included).-d Cascadia-ANT+RF_data.txttells the code where it can find the model data.
After running this command, you should see a new file Cascadia-ANT+RF-test.h5, which is our model in HDF5.
Step 6: View the HDF5 File Structure#
To view the HDF5 file structure, use the show_file_structure.py script.
Run the following command:
python ../../src/show_file_structure.py
Provide the newly-generated HDF5 file name:
Enter the path to the input file (HDF5 or netCDF): Cascadia-ANT+RF-test.h5
See the file structure. In this case we set the dataset_group to blank, the dataset is placed under the MODEL group:
File Name: Cascadia-ANT+RF-test.h5
File Size: 806936 bytes
File Type: HDF5

HDF5 File Structure:
├── MODEL
│   ├── depth
│   ├── easting
│   ├── latitude
│   ├── longitude
│   ├── northing
│   ├── vs
If we had assigned VELOCITY to the dataset_group to parameter, the dataset is placed under the MODEL/VELOCITY group and the file structure would have been:
HDF5 File Structure:
├── MODEL
│   ├── VELOCITY
│   │   ├── depth
│   │   ├── easting
│   │   ├── latitude
│   │   ├── longitude
│   │   ├── northing
│   │   ├── vs
Step 7: Examine the HDF5 File Content#
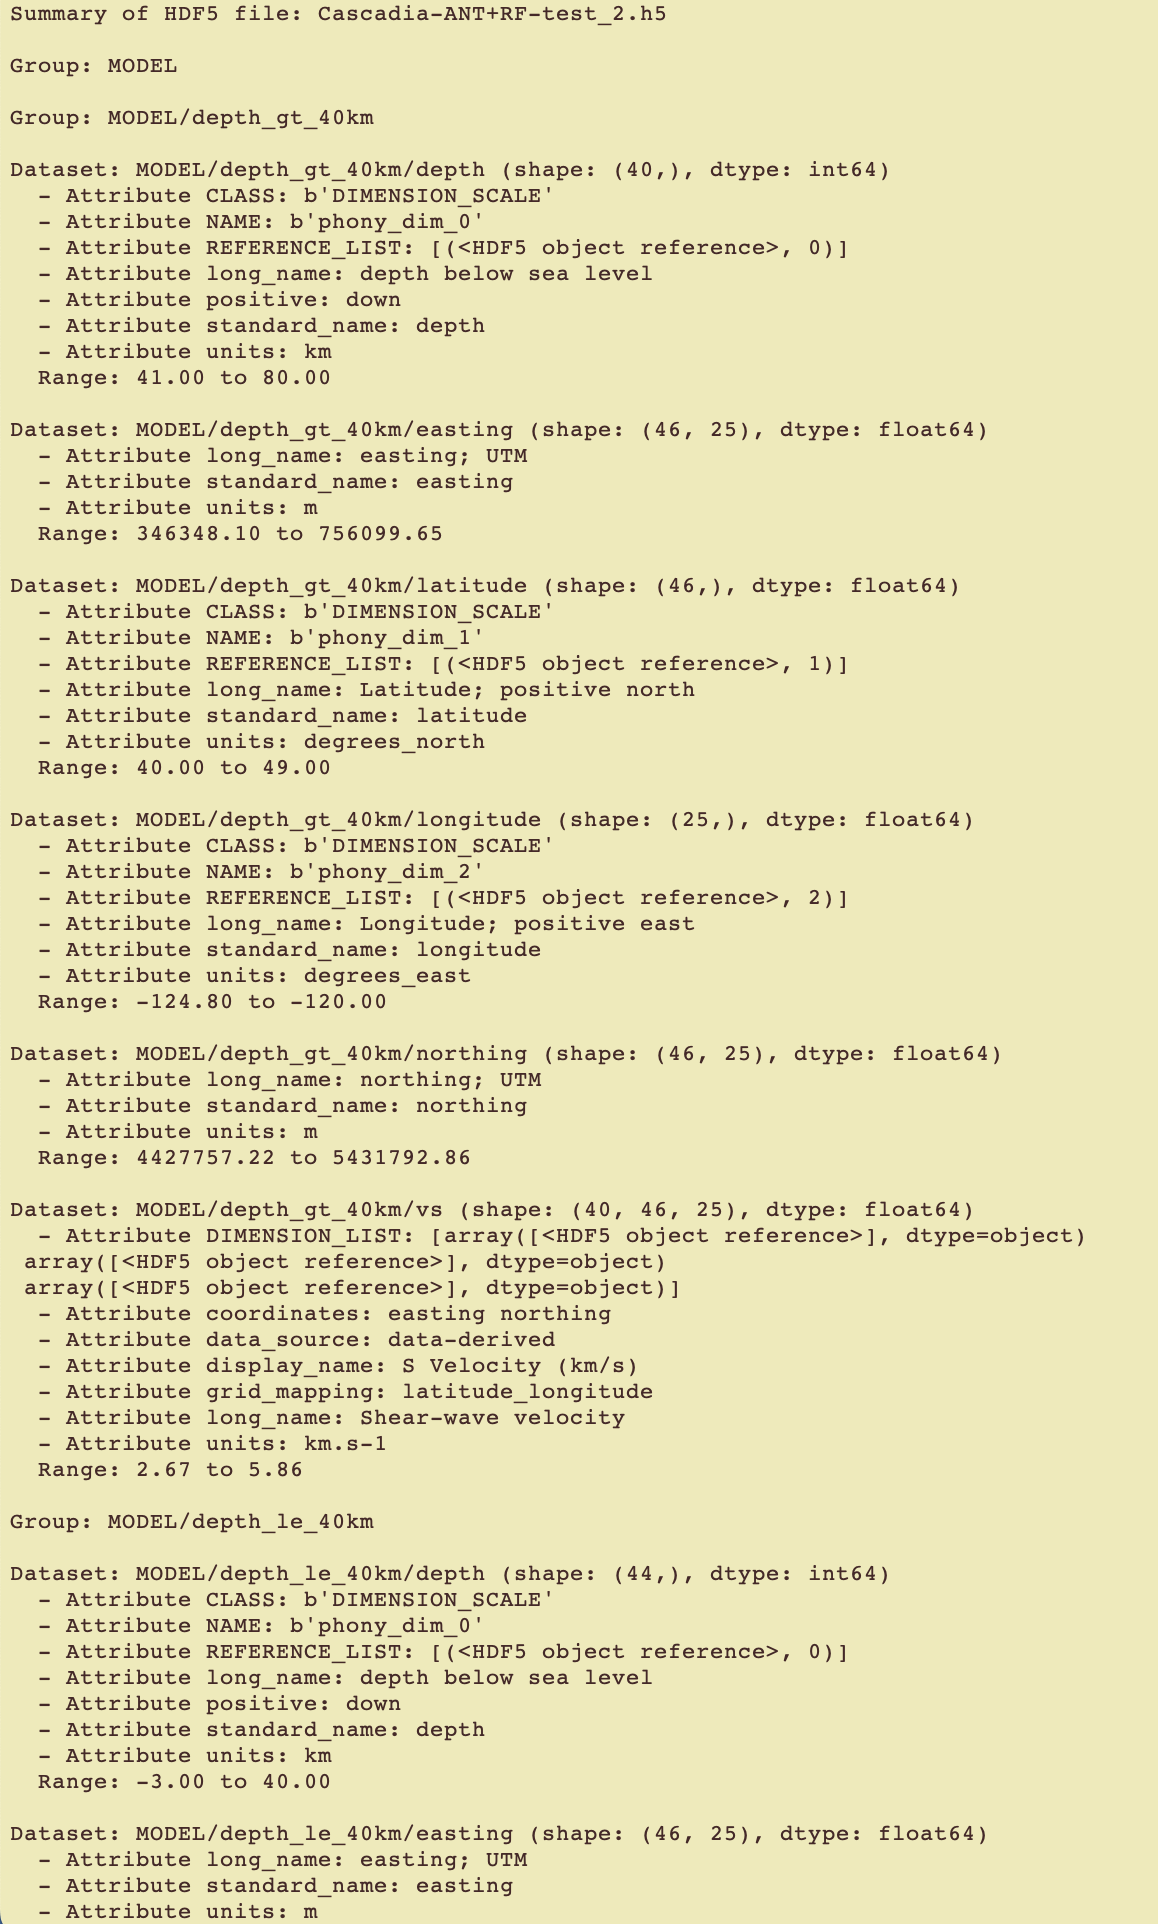
To examine the HDF5 file content, use the hdf5_summary_info.py script to summarize the created HDF5 file. Upon execution, the script will prompt you for the name of the HDF5 file to summarize. It will then read the HDF5 file and provide a summary of the metadata and data contained in the file. Successful execution of this step indicates that the general structure of the HDF5 file is correct and allows you to examine the data and metadata contained in the file to verify.
Run the following command:
python ../../src/hdf5_summary_info.py

After providing the file name, you will see a summary of the HDF5 file content.

Creating and HDF5 file with multiple (in this case two) datasets#
By randomly selecting a depth boundary of 40 km, we split the Cascadia_ANT+RF_Delph2018 model data file into two data files, so that the resulting HDF5 file will contain two datasets, one for the grid points at the depth of 40 km and less (Cascadia-ANT+RF_data_le_40km.txt) and the other for grid points at the depths greater than 40 km (Cascadia-ANT+RF_data_gt_40km.txt).
To create an HDF5 file to hold these two datasets, we need two parameter files (one for each dataset).
Cascadia-ANT+RF_meta_le_40km.txtCascadia-ANT+RF_meta_gt_40km.txt
Since all the model parameters for these two dataset are the same, the only difference between the above two parameter files is the name of the dataset_group we save each dataset under:
dataset_group = depth_le_40kmdataset_group = depth_gt_40km
The steps are the same we used above to create an HDF5 file with single dataset, to create a netCDF file from the same data file.
Step 1: Navigate to the Model Directory#
Change your directory to the model directory:
cd sample-files/Cascadia-ANT+RF-Delph2018
Step 2: Prepare the Data File#
We already have placed the data file for depths ≤40km and >40km in this directory. Please check the contents
Cascadia-ANT+RF_data_le_40km.txtCascadia-ANT+RF_data_gt_40km.txt
Step 3: Prepare the Metadata File#
As described above, we need one parameter file for each:
Cascadia-ANT+RF_meta_le_40km.txtCascadia-ANT+RF_meta_gt_40km.txt
that would place each dataset under its corresponding group:
dataset_group = depth_le_40kmdataset_group = depth_gt_40km
Step 4: Create the Model HDF5 File#
Now, create the model file by running:
python ../../src/cvm_writer_h5.py -d Cascadia-ANT+RF_data_le_40km.txt,Cascadia-ANT+RF_data_gt_40km.txt -m Cascadia-ANT+RF_meta_le_40km.txt,Cascadia-ANT+RF_meta_gt_40km.txt -g Cascadia-ANT+RF_global_meta.txt -o Cascadia-ANT+RF-test_2
-d Cascadia-ANT+RF_data_le_40km.txt,Cascadia-ANT+RF_data_gt_40km.txtby separating the data file names by comma, we tell the code where it can find the model data for the two datasets.-m Cascadia-ANT+RF_meta_le_40km.txt,Cascadia-ANT+RF_meta_gt_40km.txtpasses thecvm_writer_h5the variables metadata file name as a comma-separated parameter. NOTE: order of the parameter files must match the order of data files provided under option -d.-g Cascadia-ANT+RF_global_meta.txttellscvm_writer_h5that the global metadata file isCascadia-ANT+RF_global_meta.txt.-o Cascadia-ANT+RF-test_2is the name of the output file (no file extension should be included).
After running this command, you should see a new file Cascadia-ANT+RF-test_2.h5, which is our model in HDF5.
Step 5: View the HDF5 File Structure#
To view the HDF5 file structure, use the show_file_structure.py script.
Run the following command:
python ../../src/show_file_structure.py
Provide the newly-generated HDF5 file name:
Enter the path to the input file (HDF5 or netCDF): Cascadia-ANT+RF-test_2.h5
See the file structure. Each dataset appear under its own dataset_group:
File Name: Cascadia-ANT+RF-test_2.h5
File Size: 832920 bytes
File Type: HDF5

HDF5 File Structure:
├── MODEL
│   ├── depth_gt_40km
│   │   ├── depth
│   │   ├── easting
│   │   ├── latitude
│   │   ├── longitude
│   │   ├── northing
│   │   ├── vs
│   ├── depth_le_40km
│   │   ├── depth
│   │   ├── easting
│   │   ├── latitude
│   │   ├── longitude
│   │   ├── northing
│   │   ├── vs
Step 6: Examine the HDF5 File Content#
To examine the HDF5 file content, use the hdf5_summary_info.py script to summarize the created HDF5 file. Upon execution, the script will prompt you for the name of the HDF5 file to summarize. It will then read the HDF5 file and provide a summary of the metadata and data contained in the file. Successful execution of this step indicates that the general structure of the HDF5 file is correct and allows you to examine the data and metadata contained in the file to verify.
Run the following command:
python ../../src/hdf5_summary_info.py

After providing the file name, you will see a summary of the HDF5 file content.